
Echoes of Aincrad Wiki - Items and Crafting
Col, Healing Crystals, terminals, potions, mines, throwing stones, recipes, EX-Mod transfer, armor slots, junk gear use, and Smithy preparation.
Updated 2026-07-07Known Facts
- Merchants in Town of Beginnings sell potions and essential supplies.
- Healing potions and SP recovery items are critical before boss routes.
- Healing Crystals provide instant wide-area HP recovery; each character carries three charges.
- Healing Crystal charges refill at terminals in activated Safety Areas.
- Potions and other restoratives are separate from instant Healing Crystal charges.
- Safety Areas must be cleared of enemies before activation; they enable healing, teleport, and respawn.
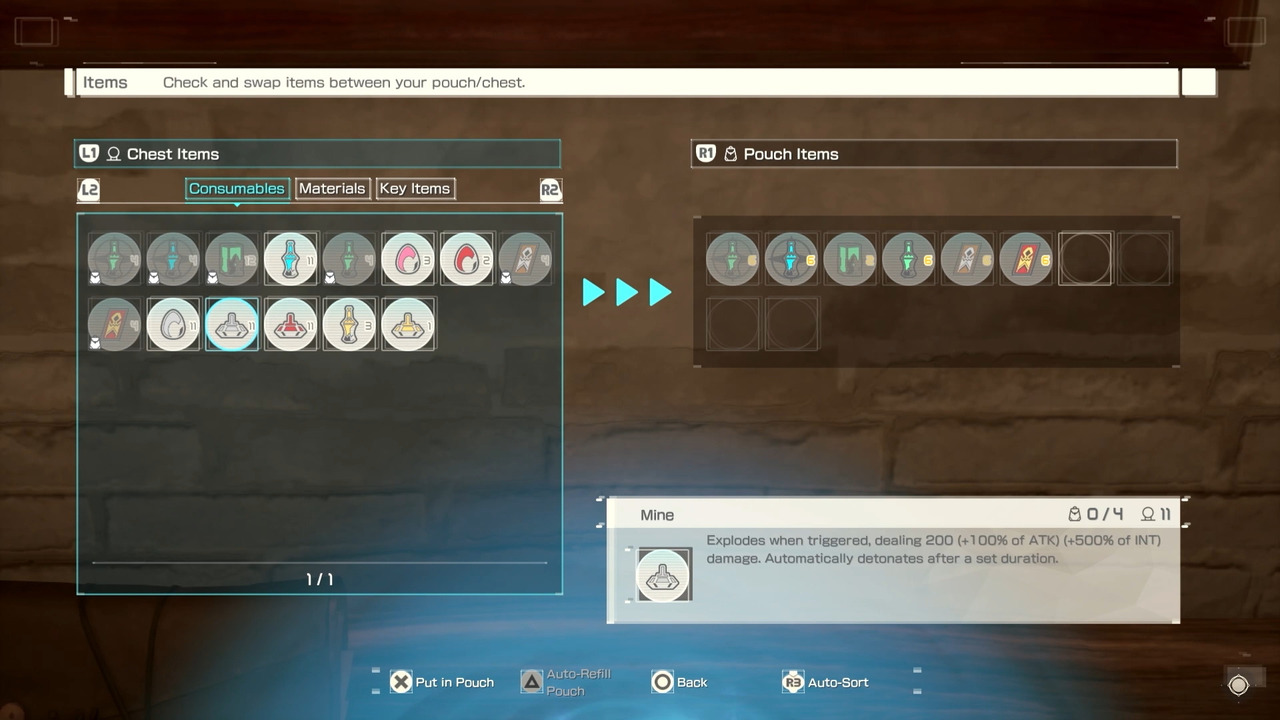
- Mines and explosive stones can damage enemies and interact with the environment.
- Throwing stones and other tools can pull or debuff enemies from safer positions.
- Debuff items can create tactical openings in combat.
- Consumables can be crafted by combining gathered materials.
- Deluxe/Ultimate Starter Pack includes Col, High Healing Potions, High SP Potions, and Mystic Crystals.
- Field blockers require specific items: rocks need explosives, vines need burning items, valleys need dodge-boost items.
- Weapon level is upgraded separately from Weapon Proficiency.
- Weapon EX-Mods can be combined through same-type weapon work at the Smithy.
- Route loot should be checked before selling because unwanted weapons can still support upgrades or useful EX-Mod transfer.
- Armor uses three equipment pieces and can carry base defense and modifier value.
To Verify In-Game
- Full item list with effects, costs, and craft recipes.
- Exact Healing Crystal cooldown or charge mechanics.
- Drop locations and merchant unlock conditions.
- Proto-Elucidator craft blueprint requirements.
- Final EX-Mod table including HP, defense, attack, movement, attack speed, and critical effects.
- Tempered Steel acquisition routes and how it interacts with weapon upgrading.
- Rare weapon drop pools and how much stat randomization exists inside each rarity.
- Whether armor can be upgraded, synthesized, or mod-transferred like weapons.
Healing Crystals and Safety Areas
Both the player and each partner carry three Healing Crystal charges. Using a crystal triggers a wide-area instant heal — valuable in boss rooms where potion animation time is risky. Charges refill when you visit an activated Safety Area.
Safety Areas are field checkpoints that only activate after you clear nearby enemies. Once active they provide:
- HP recovery
- Teleport access to other activated Safety Areas
- Healing Crystal charge refill
- Respawn point if you fall in combat (outside Death Game Mode)
Items to keep ready
- Restoratives — HP and SP recovery before/during routes.
- Healing Crystals — Emergency wide-area heal with limited charges.
- Field tools — Mines, throwing stones, explosive stones, burning items, dodge-boost items for blockers.
- Debuffs — Tactical advantage items for tough encounters.
- Materials — Smithy upgrades, crafting, and weapon fusion.
- Recipes — From exploration, quests, and Cardinal Rank progress.
Smithy loop
The Smithy turns route loot into power. Keep one main weapon upgraded, then inspect duplicate or weaker weapons for EX-Mod value before turning them into materials. A low-stat weapon can still matter if its modifier supports your main route.
Random rolls and rare drops
Weapon farming is about more than item name. If two copies of the same weapon can carry different stats or modifier value, compare rarity, base values, EX-Mod slots, and roll range before selling a duplicate.
Use unwanted weapons and upgrade materials to strengthen the piece you plan to keep. If a material such as Tempered Steel appears in the final build, save it for upgrades where the acquisition route, cost, and best-use case are clear.
Inherent mods and EX-Mod slots
Track two modifier layers for weapons: the weapon's inherent modifier and the four EX-Mod slots that can be moved between weapons of the same type. A weak duplicate can still be worth keeping if it carries the exact modifier your main route needs.
Armor planning
Plan armor as three separate pieces, each with base defense and modifier value. Until final upgrading rules are confirmed, do not assume armor follows the same synthesis path as weapons.
EX-Mod planning
Known EX-Mod examples include stamina reduction and normal attack damage improvement. Sort other modifiers by the problem they solve: HP and defense for survival, sprint speed for routing, attack speed for uptime, and critical rate for damage windows.
Combat tools
Throwing items and traps are route control tools, not only damage items. Pulling an enemy from range, forcing a safer engage, or applying paralysis build-up can matter most on Hard, Very Hard, and Death Game saves where careless multi-enemy pulls are expensive.
Recipes and chest value
Chests matter because they can carry more than consumables. Treat them as route economy: possible recipes, gear, Col, and materials that feed crafting or weapon upgrades. Exploration pages should eventually map which chests are worth repeating and which are one-time progression rewards.
Proto-Elucidator pre-order pack
Pre-order bonus includes six jet-black weapons plus a shield and blueprints to craft additional copies. Treat the set as early convenience and style gear until its long-term stat value is verified in-game.
Ask what problem each item solves — boss sustain, route clearing, obstacle removal — not just what it is called.