Echoes of Aincrad Wiki - Exploration and Field Obstacles
Quest-based open zones, Safety Areas, Arks, sealing barriers, blockers, Survey Flags, Magical Bridges, subquests, and environmental tools.
Updated 2026-07-07Known Facts
- The map expands as you explore; it is not fully visible from the start.
- Exploration is quest-based through large open zones rather than a seamless open world.
- Map markers can be used to plan routes toward points of interest.
- Terminals are priority discoveries because they reveal map sections and support fast travel.
- Safety Areas require clearing nearby enemies before activation.
- Arks and sealing barriers gate progression; defeating the Ark Boss removes the seal.
- Blockers include rock piles (explosive items), vines (burning items), and valleys (dodge-boost items).
- Subquests appear on the map with clue icons pointing to investigation spots.
- Survey Flags register discoveries in a database and grant rewards.
- Magical Bridges create shortcuts once unlocked.
- Hidden treasures, mechanisms, and sealed shortcuts exist throughout routes.
- Mines and crafted tools can reveal hidden paths or open sealed routes.
- Enemies respawn in greater numbers if not cleared, creating route pressure.
To Verify In-Game
- Safety Area locations per floor.
- Individual Ark Boss names, locations, and puzzle steps.
- Survey Flag database reward tables.
- Hidden treasure coordinates and sealed shortcut unlock chains.
- Whether weather and time-of-day changes are dynamic or quest-specific.
- Dungeon quest and labyrinth-route structure on floors 1 and 2.
- Whether free exploration exists independently from accepting field and dungeon quests.
Exploration is not optional; it gates boss access, supplies, shortcuts, and return routes. The game is best understood as large quest zones launched from town hubs rather than a seamless open-world map.
Quest-zone structure
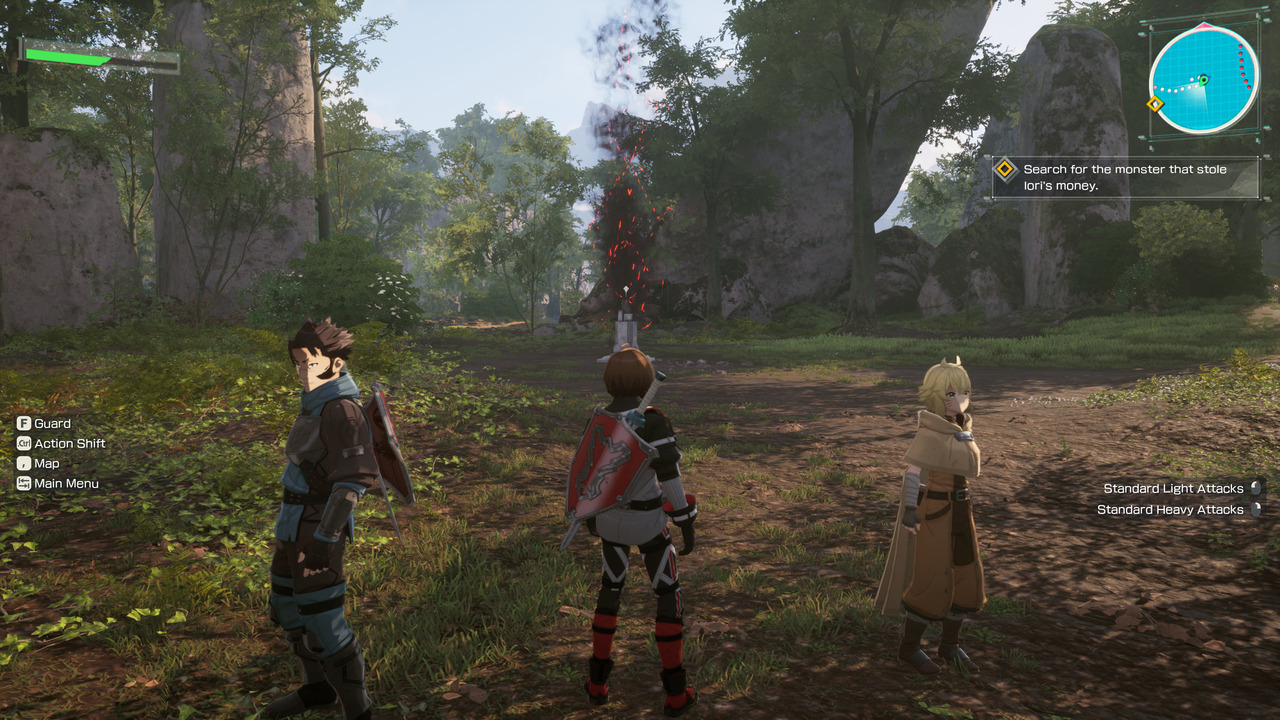
The usual loop is: prepare in town, accept a quest, enter a large zone, choose whether to follow the objective or scout side paths, then return with gear, Col, materials, and XP. The important question for each zone is not only "where is the objective?" but "which Safety Areas, chests, Arks, and shortcuts make the next run cleaner?"
Five field obstacle types
- Arks and Sealing Barriers — Large sealed zones block main progression. Defeat the Ark Boss inside to remove the barrier and advance the floor.
- Blockers — Environmental obstacles on routes:
- Rock piles — Cleared with explosive items.
- Vines — Burned away with fire-based items.
- Valleys/gaps — Crossed using dodge-boost items.
- Subquests — Side objectives marked on the map with clue icons. Follow icons to investigation points for rewards and lore.
- Survey Flags — Discoveries logged in a database; completing sets grants rewards. Encourages thorough map coverage.
- Magical Bridges — Unlockable shortcuts that permanently connect distant map sections.
Safety Areas as exploration hubs
Clear enemies around a Safety Area before activating it. Once live, use it to heal, teleport between activated areas, refill Healing Crystals, and set respawn points. Treat Safety Area chains like a fast-travel network — unlock them early on routes you plan to repeat.
Mapping and return visits
First-time route discovery is heavier than repeat visits. Once a route's checkpoints, points of interest, and shortcuts are logged, later quests in the same area should be easier to route. Use map markers for chest clusters, Ark entrances, blocker tools, and locations you want to revisit; a visible marker in the field can turn a vague objective into a clean path.
Terminals and Safe Areas
Terminals are the first priority in a new area. Activating one reveals its surrounding map section, establishes a safe foothold, supports fast travel, and refills Healing Crystal charges. Terminal behavior may also reset local enemies, which makes nearby routes useful for farming but dangerous if you are careless with repeated pulls.
Field quests vs dungeon quests
Quest selection appears to divide routes into field quests and dungeon quests. Field quests should offer more space and better visibility; dungeon quests should be treated as higher-commitment routes with tighter movement, heavier item planning, and less room to escape multi-enemy pressure.
Chests, Arks, and route density
Large zones can feel sparse if you only sprint to the marker. Build route notes around meaningful stops: chest clusters, Ark Shrines, Safe Haven/Safety Area positions, blocker tools, and enemies worth farming for materials. Avoid promising that every corner has unique content until full route maps are verified.
Dungeons, weather, and visibility
Treat dungeon quests, distant labyrinth structures, weather, and time-of-day changes differently from normal field routes. If weather affects visibility or enemy reads, bring items and partners that leave more room for mistakes.
Exploration loop
Activate Safety Areas as you advance. Scan revealed map edges for unrevealed POIs before chasing quest markers. Return to town when inventory or supplies run low rather than pushing blind routes.
Pair exploration prep with Items and Crafting before long routes and Bosses and Enemy Pressure before entering locked fights.