

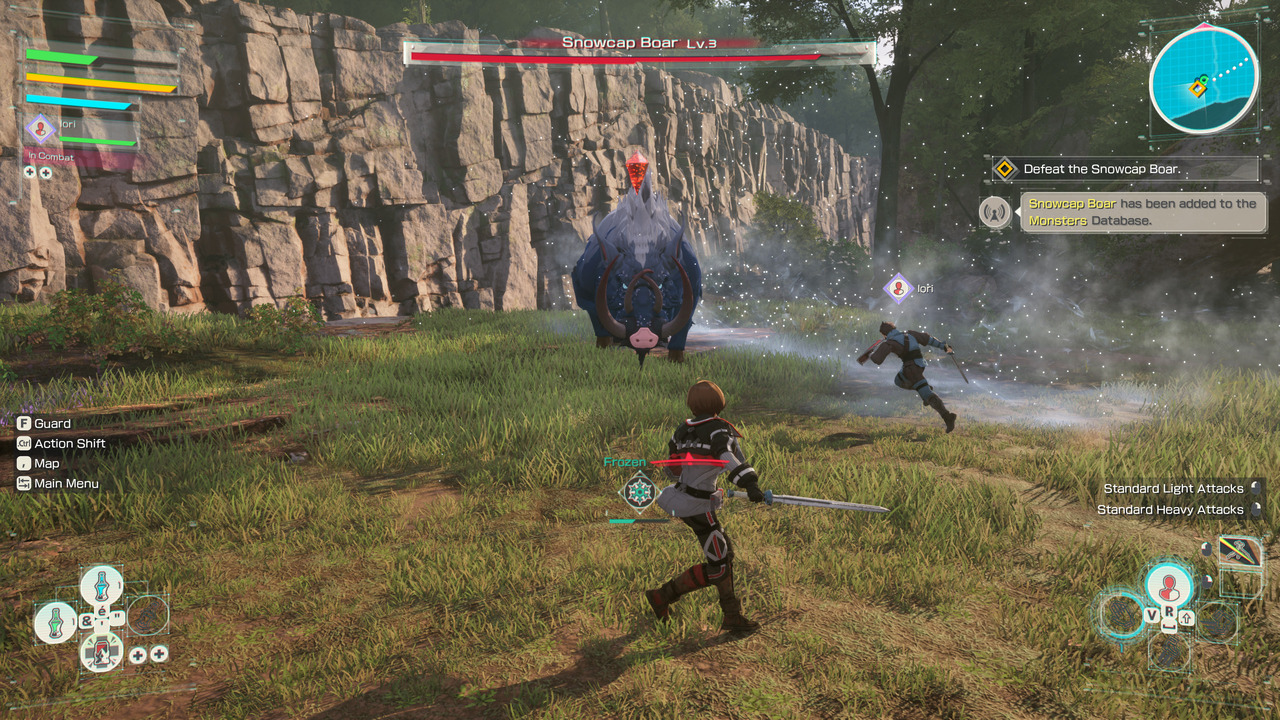
Echoes of Aincrad Wiki - Bosses and Enemy Pressure
Boss commitment rules, barrier entrances, Ark Bosses, respawn pressure, parries, dodges, Sword Skills, and preparation standards.
Updated 2026-07-07Known Facts
- Bosses are usually behind barriers; fights do not end until one side is defeated.
- Ark Bosses guard sealing barriers that block floor progression.
- Light attacks, heavy attacks, guarding, parrying, evasion, and Sword Skills all consume stamina.
- SP (skill points) fuel Sword Skills and partner Support Skills; recharged by attacking and parrying.
- Partners default to Support mode; press Triangle (PS) / Y (Xbox) to toggle Offense mode.
- Enemies that aggro the player can chase into other encounters if ignored.
- Status effects appear to build up before taking effect rather than applying instantly.
- Leaving regular enemies alive can increase respawn pressure in an area.
- Restoratives, Healing Crystals, and partner Support Skills should be set before boss attempts.
- Death Game Mode makes any boss death permanent for that save file.
To Verify In-Game
- Individual boss names, locations, attack tells, and reward tables.
- Safe healing windows and punish timings per boss.
- Stagger, part-break, or heavy-finisher behavior per boss if confirmed in full game.
- Floor 1 and Floor 2 main boss identity and phase breakdowns.
- Enemy summon behavior, long-range aggro thresholds, and visual warning tells by enemy type.
Two boss categories
- Barrier bosses — Standard locked-room fights behind sealing barriers. No retreat once committed.
- Ark Bosses — Gate entire sealed zones. Defeating them removes a sealing barrier and opens the next major progression chunk.
Before any boss room
- Restock healing potions, SP recovery items, and confirm Healing Crystal charges.
- Activate nearby Safety Areas so respawn and crystal refill options exist if you fail.
- Confirm three Sword Skills with distinct jobs (punish, pressure, emergency).
- Set partner Support Skill and Switch/Free Mode for the fight's problem.
- Upgrade weapon level and spend Growth Points if Cardinal Rank recently increased.
- Never test an unfamiliar weapon inside a locked boss attempt.
Partner offense toggle
Partners fight in Support mode by default — healing, buffs, debuffs, or intel. Press Triangle (PS) / Y (Xbox) to switch a partner to Offense mode for direct damage. Toggle based on whether you need sustain or burst in the current phase.
Regular enemy pressure
Uncleared enemies can respawn in larger groups. Clear routes methodically or move quickly through known-safe paths. This matters especially before boss prep when supplies are limited. If field enemies feel too easy on a leveled or well-geared file, do not use that as proof that bosses are safe; barrier fights test stamina, support timing, and recovery discipline much harder.
Aggro management
Do not assume you can always run past enemies cleanly. Some enemies can keep chasing once alerted, nearby enemies can join a fight, and certain enemy types may call reinforcements. Route pages should eventually mark safe pull spots, enemies with long detection range, and fights where throwing tools or traps make the engage safer.
Interrupts and status buildup
Some attacks or Sword Skills may interrupt an enemy if timed into the right moment of its own attack, briefly creating a stagger opening. Treat status effects as buildup mechanics: count how many hits, traps, or item uses are needed before paralysis, debuffs, or other effects actually trigger.
Visual tells and control items
Watch enemy attack indicators carefully. Glowing claws, tails, or other pre-attack signals can help you decide whether to parry, evade, or command a partner forward. Paralysis traps and throwing tools belong in boss-route prep when they create safer openings.